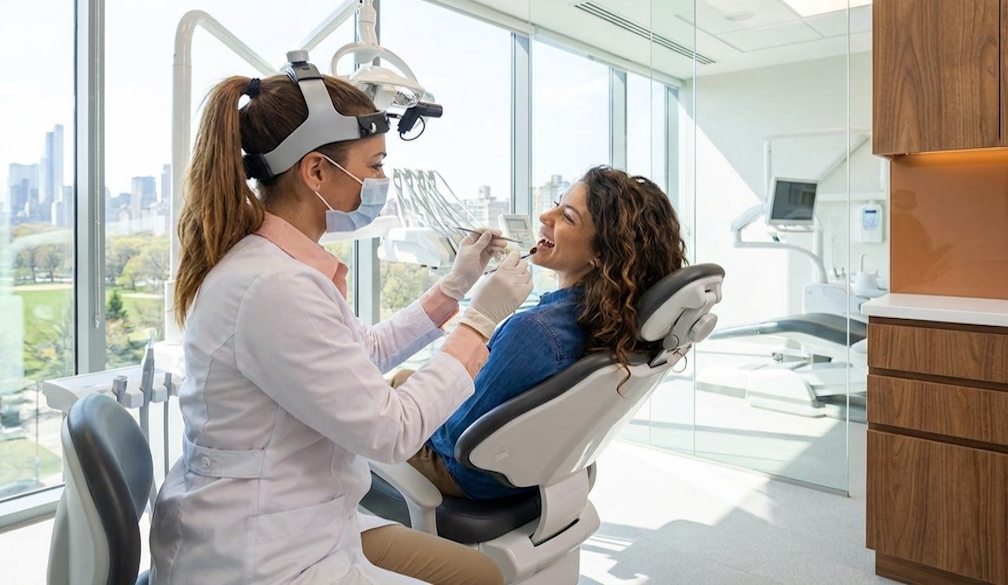
The Essential Guide to Pool Water Testing: Why It Matters and How to Do It Right
While owning a swimming pool brings endless summer enjoyment, it also comes with a quiet responsibility: ensuring the water is kept safe, clear and balanced. Pool water testing is the single most important habit that separates a sparkling backyard oasis from a cloudy, algae-filled headache. It’s not glamorous, but it’s the foundation of every healthy pool. If carried out consistently and correctly, testing can prevent the need for costly repairs, protect swimmers (especially children and those with sensitive skin) and allow you to relax, safe in the knowledge that the water quality is being monitored.
Why should you test your pool water?
The water in a pool is a living, ever-changing environment. Factors such as sunlight, rain, swimmers, leaves and even the pool’s own equipment constantly alter its chemistry. Without regular testing, small imbalances can quickly escalate into major issues, such as corrosive water that damages your liner or heater, scaling that clogs pipes, or invisible bacteria that can cause illness.
The goal isn’t to produce sterile lab water; it’s to produce balanced water that stays crystal clear with minimal chemical treatment. Testing provides the data needed to make smart, precise adjustments, eliminating the need for guesswork or over-treatment.
The Core Parameters Every Pool Owner Should Know
Here are the five essential tests that matter most for the vast majority of residential pools:
-
pH Measures how acidic or alkaline the water is (scale 0–14, ideal 7.2–7.8). Too low: water becomes corrosive, eyes sting, and equipment deteriorates. Too high: chlorine loses effectiveness, scale forms, and water turns cloudy.
-
Free Chlorine (or Bromine) The active sanitizer that kills bacteria and algae. Target: 1–3 ppm for chlorine pools (3–5 ppm if using stabilized chlorine). Low levels = green pool risk. High levels = bleached swimsuits and irritated skin.
-
Total Alkalinity Acts as a buffer for pH. It keeps pH from swinging wildly. Ideal range: 80–120 ppm. Low alkalinity makes pH bounce; high alkalinity makes pH stubbornly high.
-
Calcium Hardness Prevents water from becoming aggressive and pulling calcium from plaster or tile. Ideal: 200–400 ppm (slightly higher for plaster pools). Too low = etching; too high = scaling.
-
Cyanuric Acid (Stabilizer) Protects chlorine from being destroyed by sunlight. Ideal: 30–50 ppm. Too much = “chlorine lock” where sanitizer becomes ineffective; too little = chlorine burns off in hours.
Other useful tests (once or twice a season): phosphates, nitrates, iron/copper, and total dissolved solids (TDS). These become important if you notice persistent algae or unusual staining.
How Often Should You Test?
-
Daily or every other day during heavy use or hot weather (above 85 °F / 29 °C).
-
Twice a week in normal summer conditions.
-
Once a week in cooler months or with low bather load.
-
Before and after any major weather event, parties, or chemical additions.
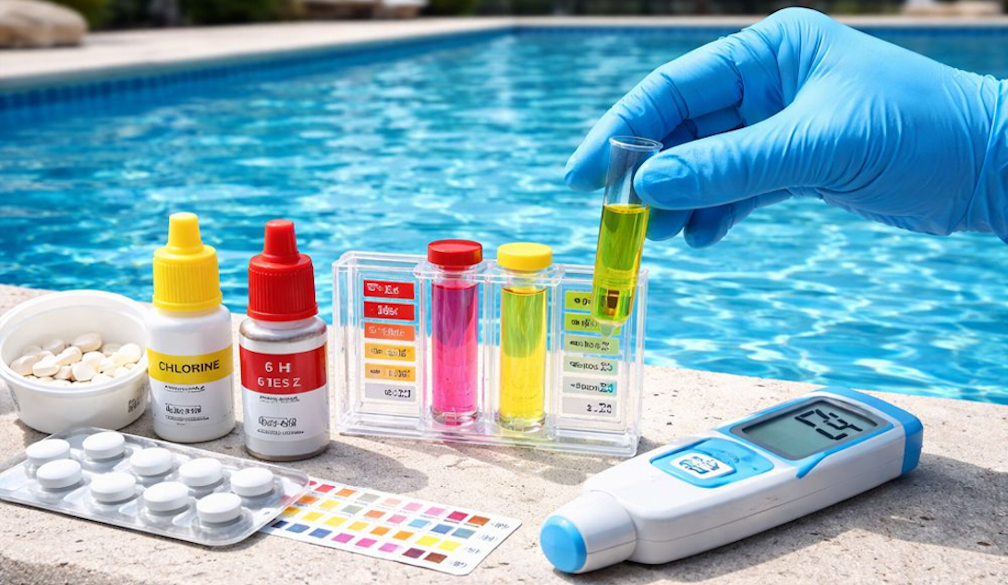
Choosing Your Testing Method
Three main options exist, each with trade-offs:
-
Test Strips: Fastest and easiest. Dip, wait 15–30 seconds, compare colors. Great for quick daily checks but less precise.
-
Liquid Reagent Kits (the classic dropper bottles): More accurate and economical for frequent testing. You count drops and compare to a color chart. The DPD method for chlorine is especially reliable.
-
Digital Testers: Photometers or probes that give exact digital readings. Higher upfront cost but eliminate color-matching guesswork. Saltwater systems often need dedicated salt testers.
Pro tip: No matter which method you choose, make sure you store your reagents and strips in a cool, dark place, and replace them every one to two years. Using expired chemicals can result in false readings and is worse than not testing at all.
A simple, step-by-step testing routine.
-
Using a clean container, take a water sample from elbow depth and away from return jets and skimmers.
-
Conduct the test immediately and do not leave the sample to sit.
-
Make sure you rinse all testing equipment with pool water after each use.
-
Keep a record of your results in a notebook or a simple app. It is more useful to look for patterns over time than to take single readings.
-
Adjust the chemicals one at a time. Wait 4–6 hours (or overnight for significant changes) before re-testing.
Interpreting Results and Fixing Problems
-
Cloudy water + high pH + low chlorine → shock the pool and add a clarifier after balancing pH.
-
Green water → almost always insufficient free chlorine or high cyanuric acid. Test and correct sanitizer first.
-
Etching or corrosion → low pH and low calcium hardness. Raise both gradually.
-
Scaling on tiles → high pH, high alkalinity, high calcium. Lower them and use a scale remover if needed.
The golden rule is to never chase numbers blindly. Address the most significant imbalance first (typically pH or chlorine) and then retest before making any further adjustments.
Final thoughts
Testing pool water isn’t about achieving perfect laboratory results — it’s about creating a safe and inviting environment that will last for years. Spending just ten minutes with a test kit a couple of times a week can save you hundreds of pounds in chemicals, repairs and frustration. Once you understand the simple chemistry involved, the process becomes almost meditative: a small weekly ritual that ensures your pool remains inviting and your family is kept safe.
Healthy water doesn't just happen by accident. It happens because someone took the time to check.